|
Mechanical Trigger Job
I had some extra macroline lying around so I decided to use it as a sear rest. A sear rest raises the sear to allow for more front slack in the trigger pull. Then you put a trigger stop to eliminate the slack.
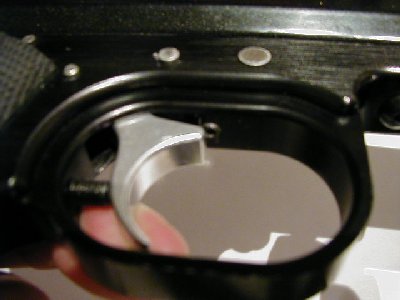
At first I cut off some macroline so that it would fit in the trigger frame. Then wrapped it in electrical tape to add a little more thickness and slow the wear. Next I put the rest in postition, the I put the pin in (not all the way, it's easier the pounding it out if it doesn't work). It worked pretty well, it added enough trigger slack so that the trigger would engage the sear right after the safety (I want to keep the safety operational). So I was set on the front slack.
I didn't want to file away any material on the sear or striker so there nothing I could do, atleast to my knowledge, to increase the rear slack.
Next comes putting in the stops. I needed to put in rear and front stops. Luckily my Bob Long Frame came stock with a threaded hole for a set screw to act as a trigger stop. I decided to add a set screw to be the front stop too. First I took the trigger and trigger spring out. Then I drilled and tapped the frame to use a 6-32 set screw where the font of the trigger touches the frame. This is very nice because it's fully adjustable.
|
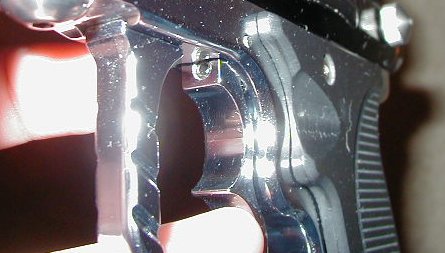
| Here is a pic that shows the rear stop. This is after the trigger job, the pull is about 3/16". |
|
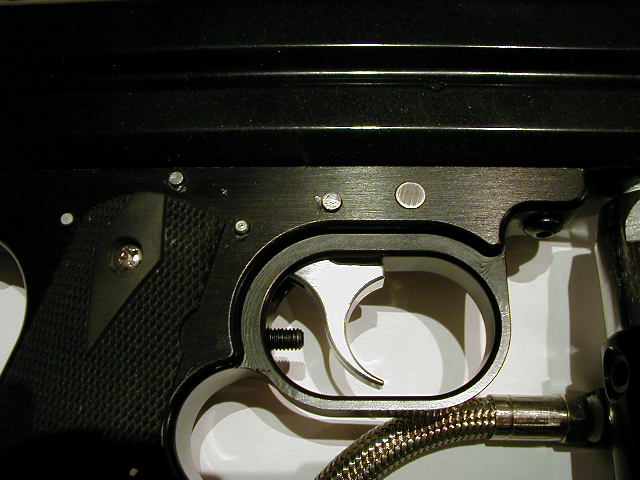
| Here is the front set screw. |
|